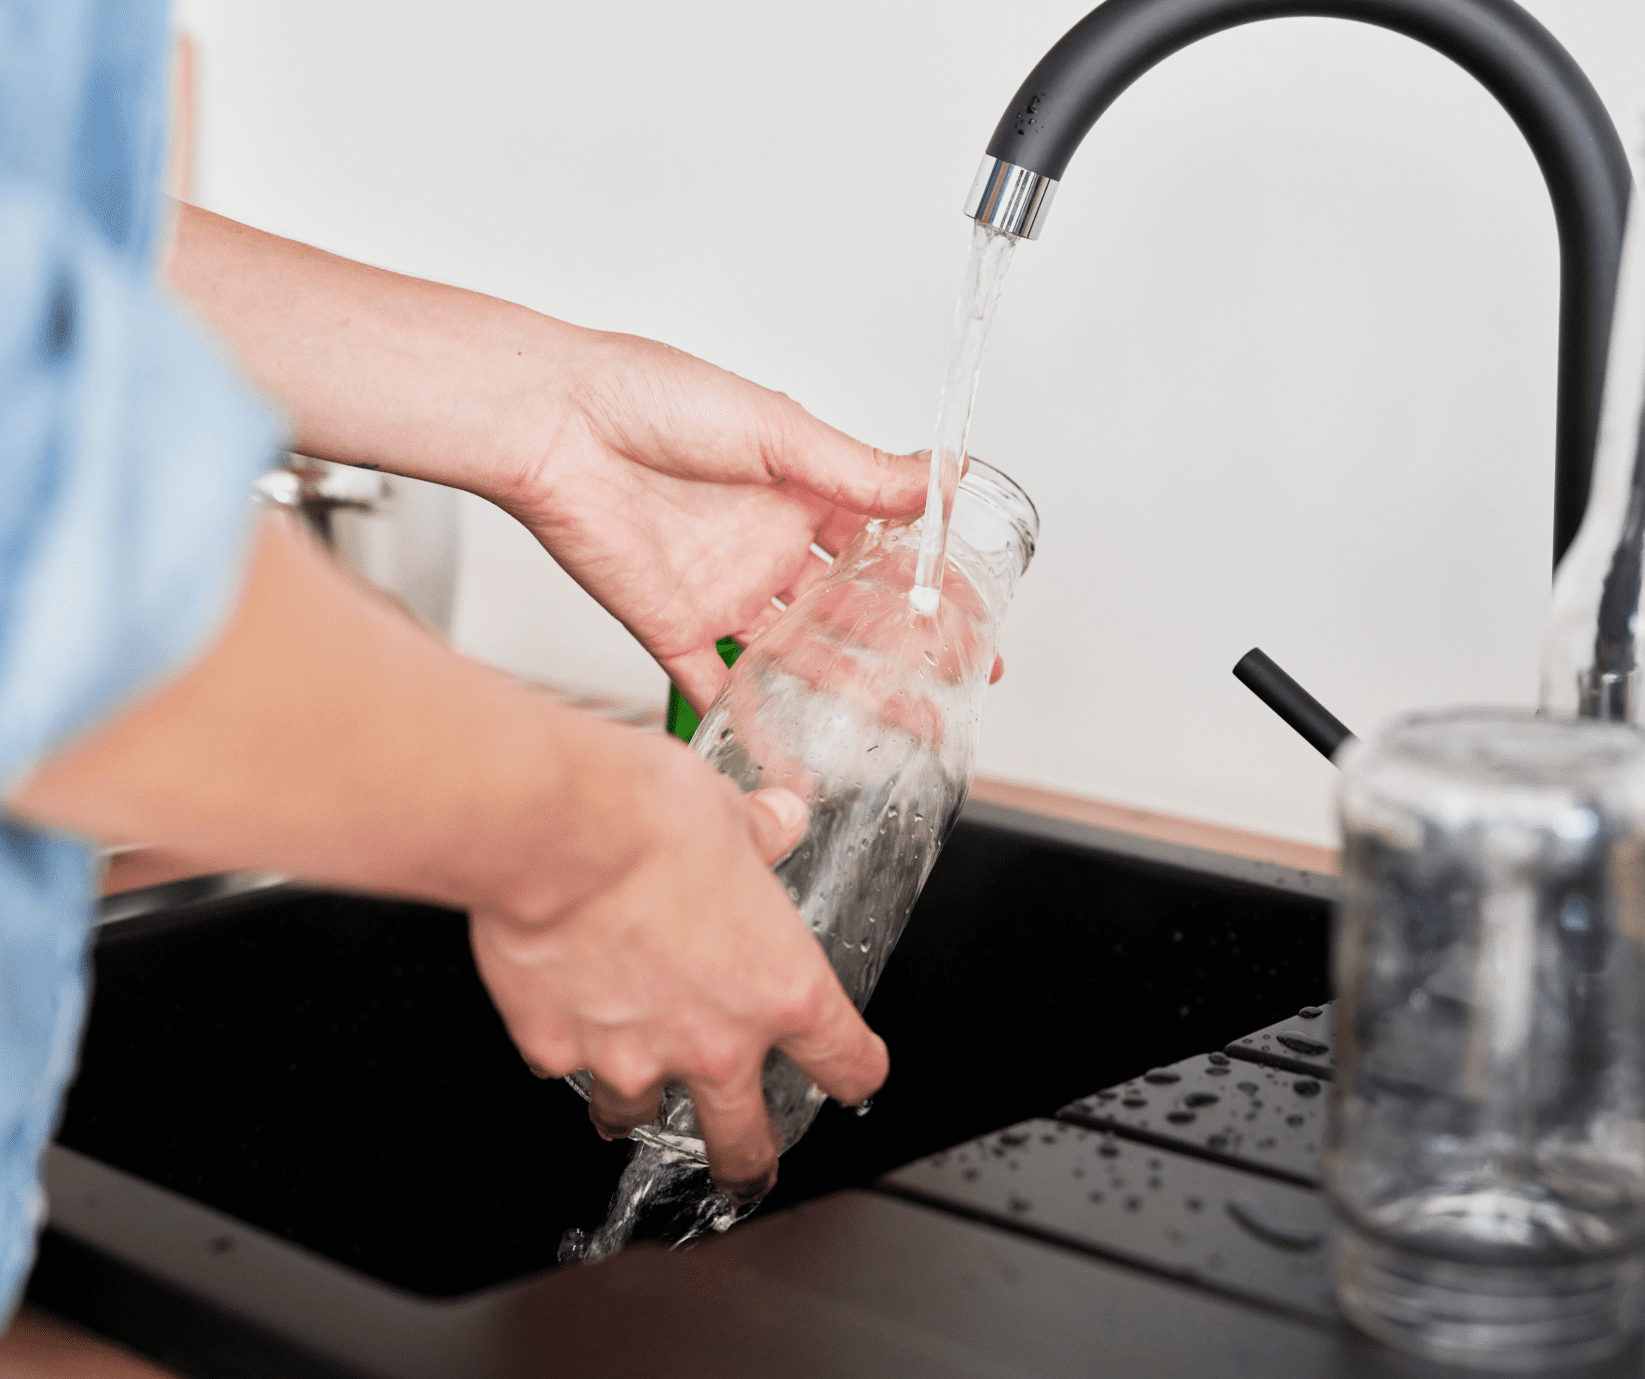
Reusable glass jars are a sustainable and practical choice for storage, gifting, and decor. Keeping them clean and safe is essential for their reuse. This guide will walk you through simple steps to clean and sterilize your jars so they stay in great condition.
Why Cleaning and Sterilizing Your Jars Is Important
Glass jars can collect dirt, food residues, or wax over time. Cleaning removes dirt, while sterilization kills germs, making your jars safe for food or other uses. Proper care also helps your jars last longer, which saves money and reduces waste.
Step 1: Pre-Clean Your Jars
Start by removing any dirt or labels. Follow these steps:
- Remove Labels: Soak jars in warm, soapy water for 20 minutes. This softens the labels and glue. Scrub off the residue with a sponge or scraper.
- Wash and Rinse: Use dish soap and warm water to clean the jars inside and out. A bottle brush can help with hard-to-reach spots.
- Check for Cracks: Inspect the jars for chips or cracks. Damaged jars shouldn’t be reused for food or liquids.
Step 2: Choose a Cleaning Method
Pick the best cleaning method for your jars based on their condition:
For General Cleaning
- Dishwasher: Place jars on the top rack to avoid damage. Use a high-heat setting for better cleaning.
- Handwashing: Wash with warm water and dish soap using a sponge or brush.
For Stubborn Stains
- Baking Soda Paste: Make a paste with baking soda and water. Apply to stains and scrub gently.
- White Vinegar Soak: Fill jars with white vinegar. Let them sit for a few hours, then rinse well.
Step 3: Sterilize Your Glass Jars
Sterilizing jars is important for storing food, skincare products, or candles. Try these methods:
Boiling Method
- Put jars in a large pot and cover them with water.
- Boil for 10–15 minutes.
- Remove jars with tongs and let them air dry on a clean towel.
Oven Method
- Preheat the oven to 275°F (135°C).
- Wash jars and place them upside down on a baking sheet.
- Heat for 20 minutes. Let jars cool before handling.
Steam Sterilizer
- If you own a steam sterilizer (like those for baby bottles), you can use it to sterilize jars quickly and easily.
Step 4: Dry and Store
- Air Drying: Place jars upside down on a clean towel. Let them dry fully to prevent mold.
- Storage: Keep jars in a dry, clean space. Store them without lids for better airflow.
Extra Tips for Better Care
- Use Gentle Cleaners: Avoid harsh chemicals that could damage the glass or leave harmful residues.
- Replace Worn Lids: Old lids with rust or damage should be replaced to ensure a proper seal.
- Smart Labeling: Use removable labels or write directly on the jar with a chalk marker. This makes reusing and cleaning easier.
Final Thoughts
Reusable glass jars are a fantastic eco-friendly option. By following these steps, you can keep them clean, safe, and ready for any use. Whether you’re preserving food, organizing supplies, or making crafts, proper care ensures they’ll last a long time.
Start cleaning your jars today and enjoy their endless possibilities! For more tips, check out our guide to reusable glass jars and creative uses.