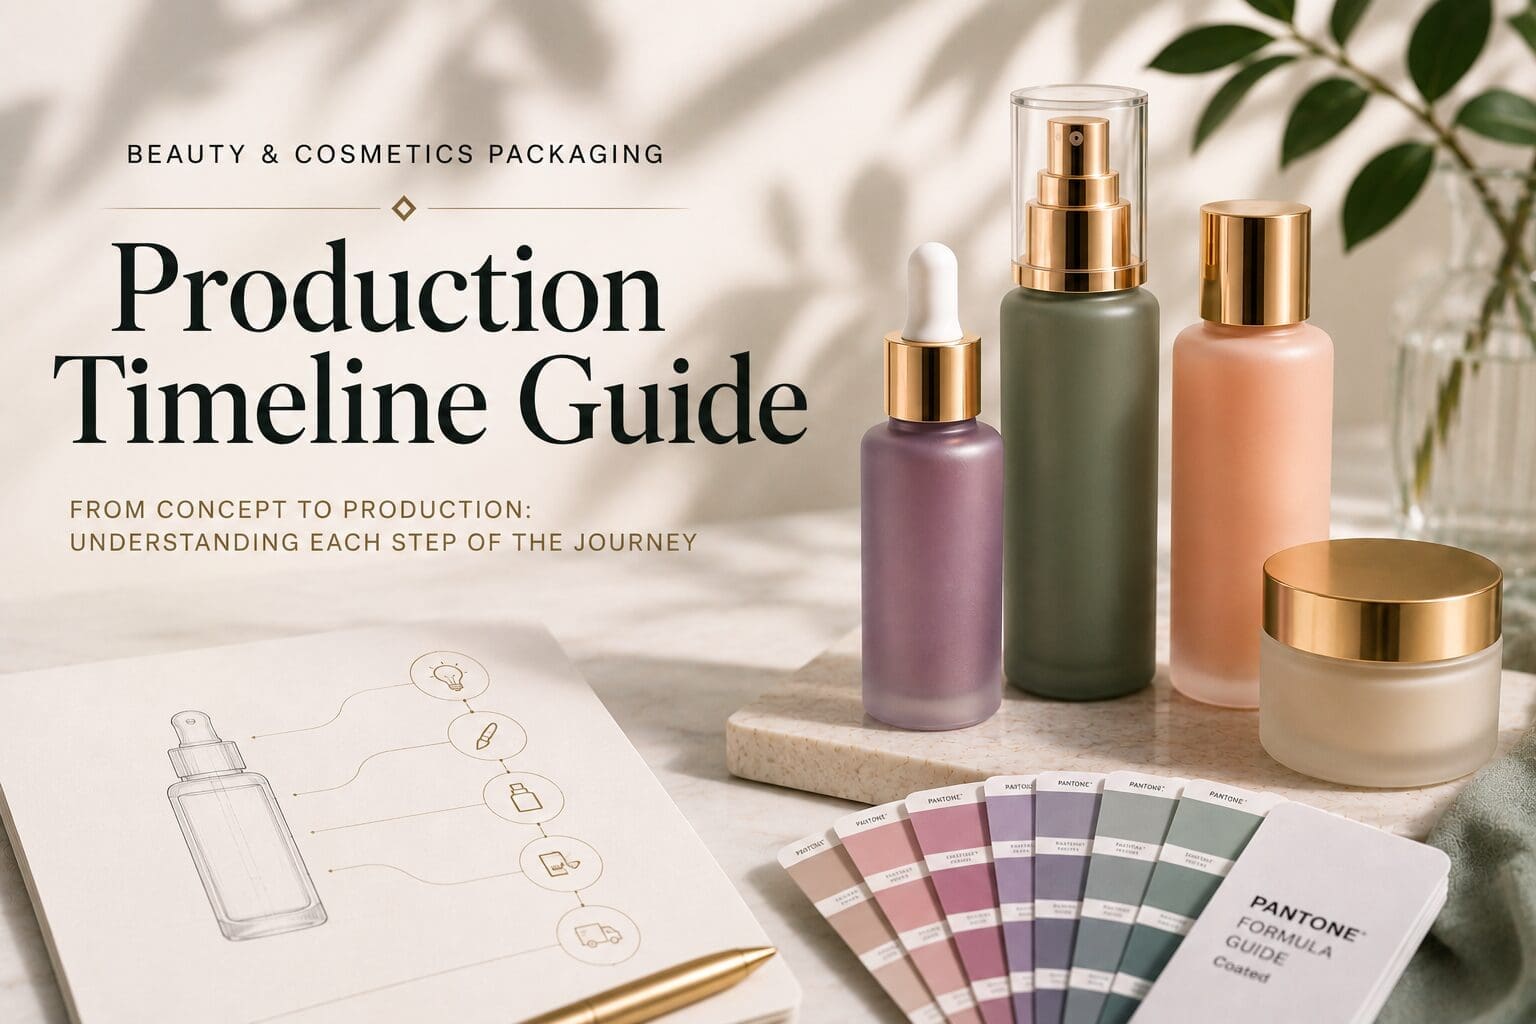
Creating custom beauty packaging is a collaborative process that combines thoughtful planning, creative development, and precision manufacturing.
Understanding the stages of that process helps brands establish realistic expectations, coordinate product launches, and move through development with confidence.
While every project has unique requirements, most custom beauty packaging projects follow a similar path from initial planning through final production.
This guide explains each stage of the journey and highlights ways to keep your project moving efficiently.
Step 1: Define Your Project
Every successful packaging project begins with a clear vision.
Before requesting a quote or sample, gather the information that will guide the development process.
Consider:
- Product type
- Container style
- Brand positioning
- Decoration goals
- Estimated quantities
- Target launch date
Having this information prepared allows your project to move forward more efficiently.
Step 2: Prepare Your Artwork
Production-ready artwork is one of the most important parts of the timeline.
Before submitting artwork, verify:
- Logos are finalized.
- Text has been proofread.
- Fonts are outlined.
- Vector files are available.
- Print areas have been reviewed.
Well-prepared artwork helps reduce revisions during development.
Step 3: Select Decoration Methods
Once your project requirements are established, decoration methods can be selected.
Options may include:
- Screen printing
- Spray coating
- Matte finishes
- Gloss finishes
- Frosted finishes
- Transparent colors
- Opaque colors
Selecting decoration methods early provides direction for color development, sampling, and production planning.
Step 4: Develop Colors and Finishes
If your project includes custom colors, this stage focuses on refining the appearance of the finished package.
Evaluate:
- Brand colors
- Finish selection
- Collection consistency
- Product differentiation
Reviewing these elements before sampling creates a stronger foundation for the project.
Step 5: Review Samples
Sampling allows you to evaluate the finished package before production begins.
Review each sample for:
- Decoration quality
- Color accuracy
- Artwork placement
- Finish consistency
- Overall presentation
Physical samples provide the opportunity to make informed decisions before approving production.
Step 6: Final Approval
Before production begins, confirm every aspect of the project.
Review:
- Artwork approval
- Color approval
- Decoration approval
- Production quantities
- Shipping requirements
Completing a final review helps reduce changes after production has started.
Step 7: Production
Once approvals are complete, your project moves into production.
Production may include:
- Screen printing
- Spray coating
- Multiple decoration steps
- Quality inspections
Each stage is designed to help ensure the finished packaging reflects the approved sample.
Step 8: Shipping
After production is complete, the finished containers are prepared for shipment.
Shipping schedules may vary depending on:
- Order size
- Destination
- Transportation method
- Delivery requirements
Planning transportation early helps support a successful product launch.
What Can Affect the Timeline?
Every project is unique, but several factors commonly influence production schedules.
Artwork Revisions
Changes after artwork approval may require additional review before production can continue.
Sample Changes
Adjustments requested after sampling may require additional development or resampling.
Multiple SKUs
Projects involving several product variations often require additional planning and coordination.
Approval Timing
Prompt review of artwork and samples helps maintain project momentum and reduce unnecessary delays.
Tips for Staying on Schedule
Planning ahead can simplify the entire process.
Helpful practices include:
- Prepare production-ready artwork.
- Define your launch timeline early.
- Consolidate internal feedback before approving samples.
- Finalize quantities before production.
- Build time into your schedule for sampling and revisions.
Thoughtful preparation creates flexibility throughout the project.
Common Timeline Questions
How long does a custom beauty packaging project take?
Every project is different. Timelines depend on artwork readiness, sampling, approvals, decoration requirements, and production scheduling.
Does sampling add time to the process?
Sampling is an important part of packaging development and should be included in your overall project schedule.
Can artwork changes affect production?
Yes. Revisions made after artwork approval may require additional review and could influence the production timeline.
When should I begin planning my launch?
Begin planning as early as possible. Early preparation provides more time for design, sampling, approvals, production, and shipping.
What is the best way to avoid delays?
Providing production-ready artwork, responding promptly to approvals, and establishing a realistic launch schedule all contribute to a smoother project.
Good Planning Leads to Better Packaging
Successful beauty packaging is the result of careful preparation.
When you understand each stage of the development process, from artwork and sampling to production and shipping, you can make informed decisions that support your launch goals.
Planning ahead helps create a more efficient project, reduces unexpected delays, and results in packaging that delivers a consistent, premium experience for your customers.